Every Artists Nightmare…and How I Fixed It.
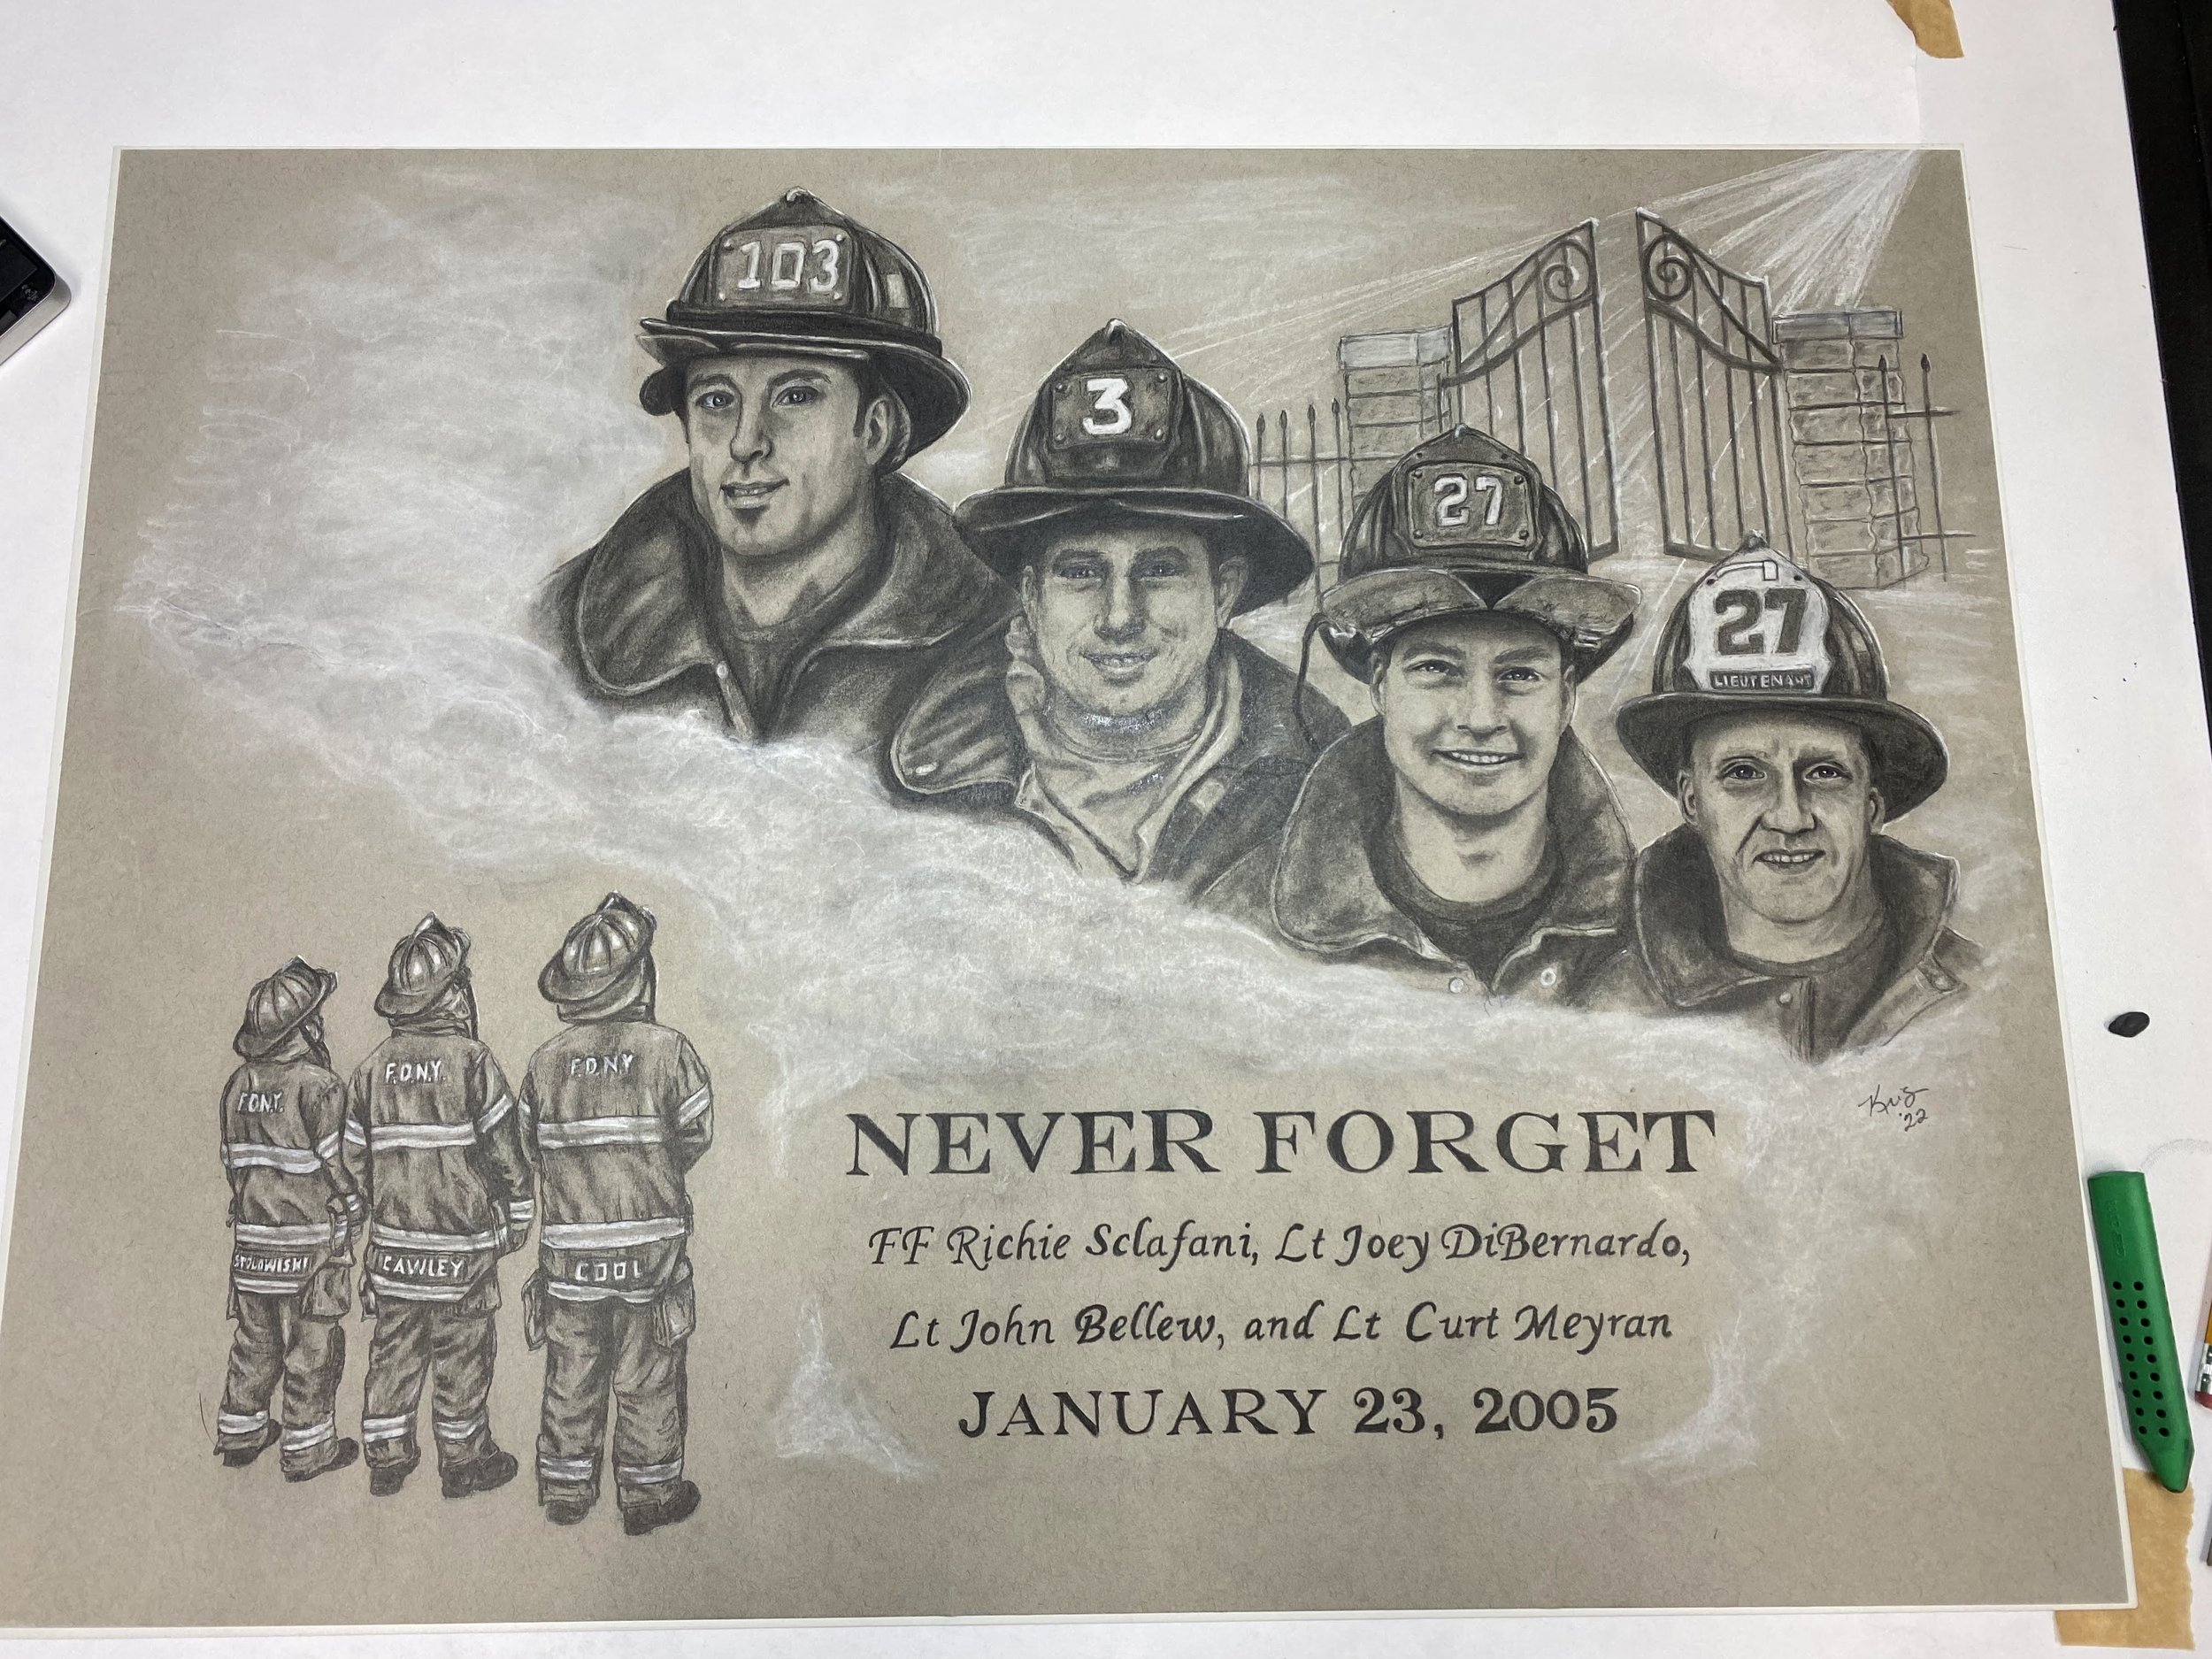
Since I recently posted about the Black Sunday Memorial drawing, I figured I will go ahead and share with you about the complete fiasco that happened with it.
Joey D.
How it started: Jeff Cool saw a firefighter helmet that I painted for the 343 Commitment (which is its own unique story…think I will have to write about it in a future blog.) He liked that helmet so much that he commissioned me to paint two helmets for him. One for the Lt. Joseph P. DiBernardo Memorial Foundation (the family choose to keep) and one for the Chris Kyle - American Valor Foundation (was auctioned off as a fundraiser). Click here and scroll down to see the helmets.
Jeff had been thinking about getting a Black Sunday memorial drawing for a long time. So, after his first two projects were completed, he decided to commission me for this special drawing. Jeff wanted the four LODD firefighters in front of heaven’s gate with the three survivors looking at them. You can check out my other blog post with more information about the drawing and the history behind it.
After the drawing was finished and sealed, Jeff and his wife decided they would get if framed themselves. So, I rolled the drawing between 2 pieces of thick paper, packaged it up in one of those sturdy tube mailers, and dropped it in the mail at FedEx. I sent Jeff the tracking number and waited for him to get it……..
It did not show up on the day it was supposed to….so we kept waiting…..
It finally showed up, a day late…and looking like this…
Yes…that is a broken tube mailer, with the drawing being ripped, creased, and wrinkled. And to top it all off, FedEx was just going to leave it on his doorstep, but Jeff saw him and stopped him. Not that it did much good…the guy couldn’t care less. Needless to say, Jeff was extremely upset and refused the package; so, the drawing went back to FedEx, and I thought it was lost forever. I know Jeff spent hours on the phone with FedEx and he pretty much got the same response as the delivery guy…couldn’t care less, but he did learn that it should be returned to me. Jeff and I were both crushed. I told him to give me a little time and let’s see what happens. About 2 weeks later, I did actually get the drawing back. I thought it was going to be demolished by the time I got it, but to my surprise it was in about the same shape as when Jeff saw it and they had actually taped up the tube.
Once the drawing was in my hands, I started doing research on how to fix this fiasco. I came up with a game plan and told Jeff that I was going to try and fix it. I also told him that if it did not work I would re-draw it but wanted to try this first. I found several articles and went to work.
First, I got out the wrinkles and creases following these steps:
Step 4: I was not taking any chances! I loaded it down!
Place art on a clean surface
Mist the back of the paper with water using a fine mist. (You can also use a damp sponge, but I opted for the spray bottle) Do not over wet. Make sure to hold the bottle 6-8 inches away from the paper, this will help get a fine mist.
Take piece of sketch or copy paper larger than the artwork place it on a clean flat surface. Place the artwork face down over it, and cover with another piece of sketch, news print, or copy paper larger that the artwork. I also sandwiched the sketch paper between 2 large smooth aluminum panels, but you can use anything solid.
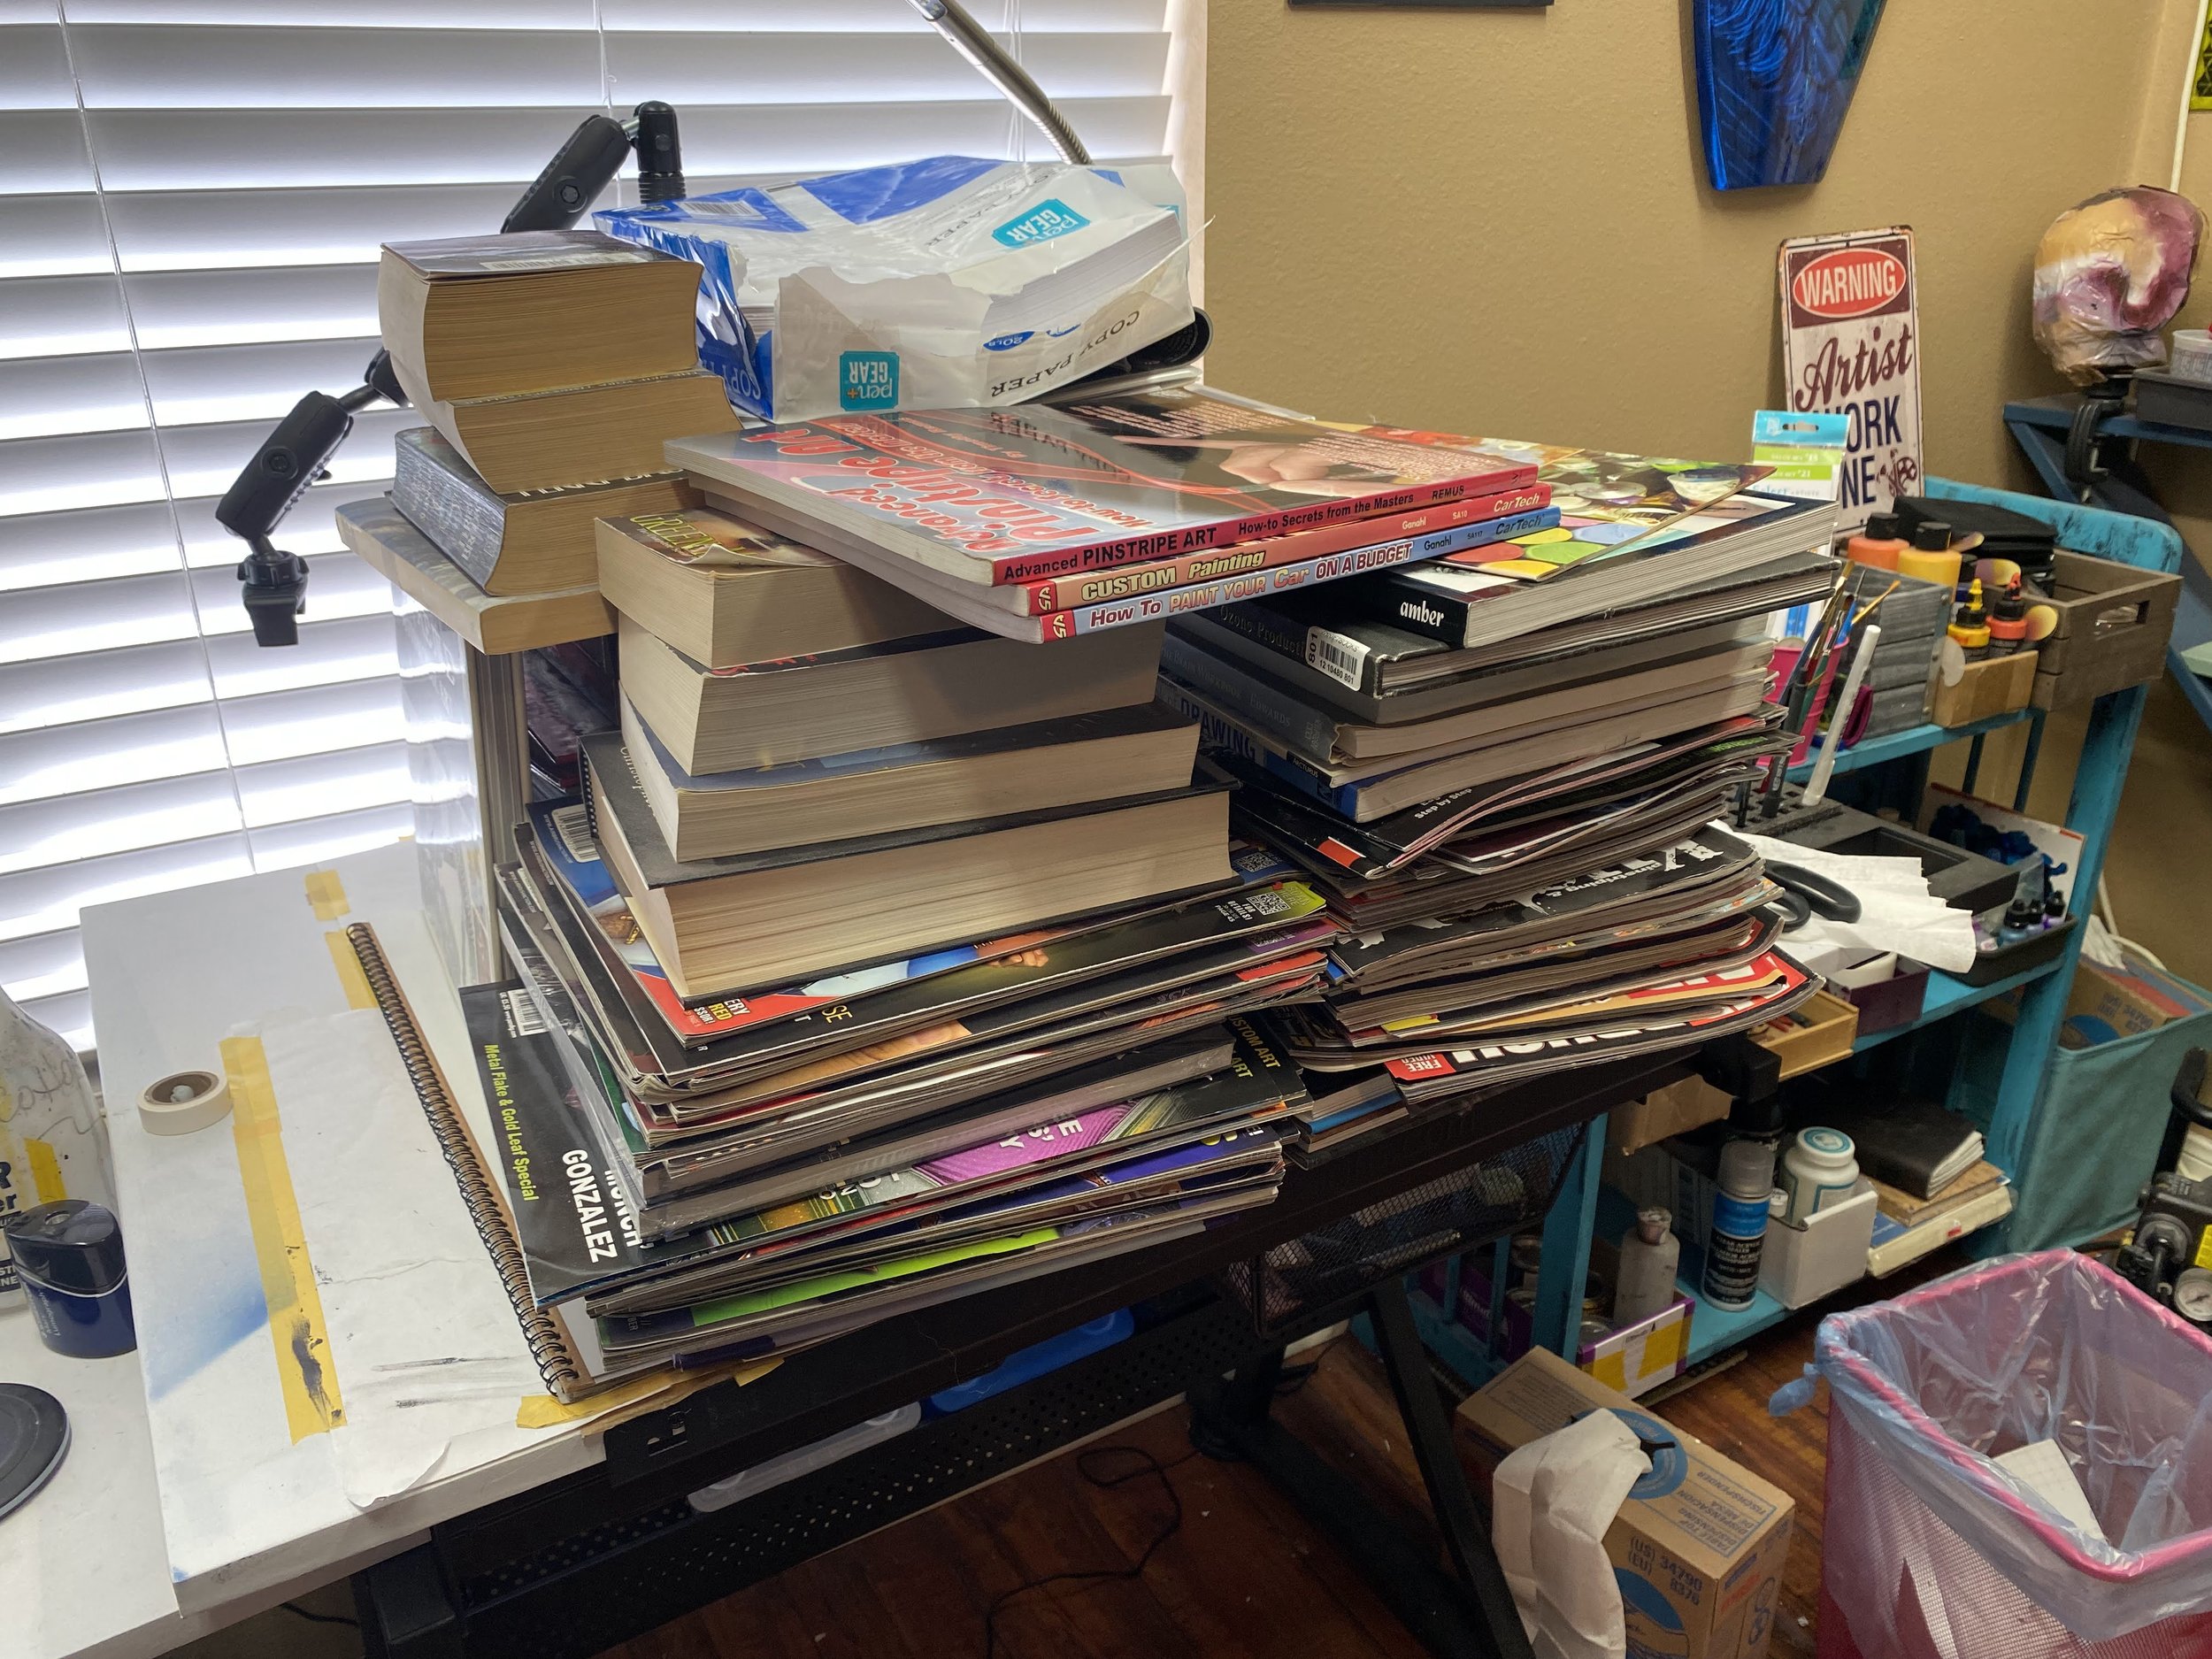
Put weights or heavy books to cover and press the paper flat.
Remove the board and weight every 2 hours and replace damp sketch paper with dry sketch paper. Repeat this until the newsprint is not wrinkling or does not feel damp, usually around 4-6 cycles. I then put another new dry sheet of sketch paper down and covered with the board and weight. Leave 24-72 hours until paper is completely dry.
*****This step is very important! You need the water to evaporate from the paper at an even rate so the fibers will not contract differently.
*These are the references that taught me how to fix the wrinkles: How to Flatten a Buckled Painting - Strathmore Artist Papers and How to Flatten Wrinkled Paper - Art New York (artnyfair.com).
After following these steps, the drawing was wrinkle free. Now I had to tackle the torn paper:
Tears can be fixed using archival repair tape (I used the very thin mending tissue). This very thin and extremely transparent pressure sensitive document repair tape is non-yellowing, removable with solvents, and has a neutral pH. It’s the tape conservators use to repair important documents and books.
Cut the tape to size, stick the strip along the rip on the reverse side of your paper.
Burnish it down using a spatula, teaspoon or bone folder (I used the bone folder because I wanted to make sure I was doing it 100%.) Care must be taken not to leave any potentially acidic fingerprints on the sticky side, so snip off the end you hold. Use tweezers if you have to.
The tear will be almost invisible, but you may have to draw over it to ‘lose it’ properly.
*This reference taught me this step: How to Repair Drawing Paper: 9 Ways to Rescue Your Artwork (wildlifeartstore.com)
Fixed and mounted on aluminum panel.
I added one more step to the repair process. I used some spray adhesive and attached the artwork paper to a smooth aluminum panel that was slightly larger than the drawing.
Fixed and framed before packaging.
After that, I was not willing to take any more risks and I took it to a professional framer in San Antonio, Kat’s Custom Picture Framing. Let me tell you, Kat was AMAZING!
How it was packaged from Kat’s shop, before I put it in a larger box with more padding all the way around!
Once I picked up the fixed and framed artwork, I went to UPS (obviously not FedEx) to ship this to Jeff. And I definitely packaged this up like crazy. (Yes, I have learned my lesson the hard way, even though the tube mailers that can give someone a concussion if you knock them over the head…. they don’t stand a chance in the hands of FedEx.)
When you get right up on the drawing you can see a few areas of imperfection, but you stand back a foot and it goes away. Jeff seemed pleased with the results and happy that I was able to salvage this drawing and he was able to keep the original drawing.
Hope this helps someone not make the same mistakes I made…but if they do, they know how to fix some of the problems.
Package it up better than you think it needs to be.
How to repair wrinkled artwork.
How to repair torn paper artwork.
Have you had any crazy experiences like this and how you fixed it? Let me know in the comments below!


